Batteries like any other product are subject to wear and tear and would eventually stop working. Repairing it would be a more practical approach compared to right away purchasing a new battery. It is an economical solution and yes, it is possible to bring a deep cycle battery back to life and be able to use it for a few more years.
If your battery is showing signs like not being able to hold a charge or not able to take any charge then you can try to revive it so you can get the most out of your best RV deep cycle battery. Giving on up easily is not the name of the game. Here are the simple and easy steps to restore your battery to life.

Step 1: Prepare your basic household products which you would use to bring back your battery. These products are Epsom salt, baking soda, and distilled water.

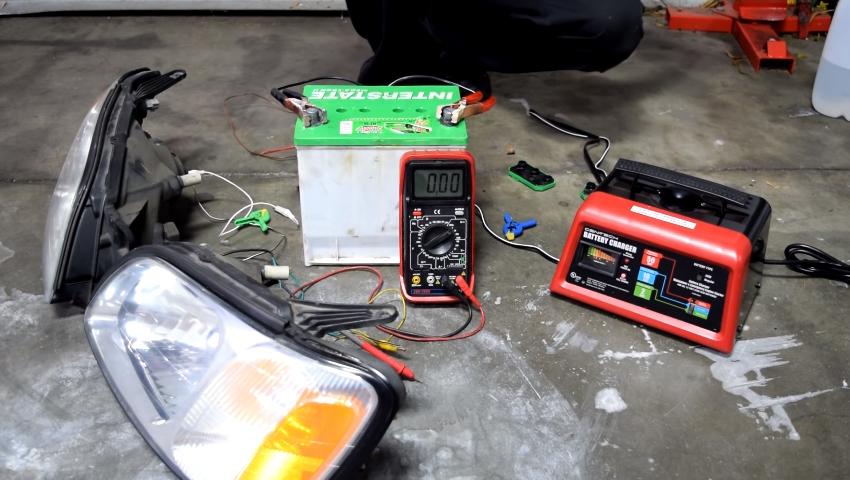
Step 2: Do an initial reading on your battery’s current charge. Although the poor result is expected, use a load tester, and have an overview of the shape of the battery. A load tester measures the amperes that your battery produces. Rule of thumb is, the battery should produce high amperes so it can power the starter motor so the RV’s engine can start. The battery’s power is usually described as “cold cranking amps” or simply as CCA. A good battery when tested using a load tester should bring the dial to the green ‘OK’ area. By the end of the load test, you will know how weak your battery is if the dial lands to the red area.

Step 3: Make sure to clean the surface of the battery including the terminal. Remove the dirt, grease, or any debris on the top of the battery using a tissue or a cloth. Naturally, as your batteries age, it becomes prone to corrosion. You can spot a corroding battery by the white powder on the outside of the battery. As an added precaution, you can clean your battery by using some work gloves and even safety goggles. You can also use a cleaning agent made of water and baking powder and use this clean the battery.

Step 4: Loosen the battery caps off. You can do this step by just twisting off the caps. Some battery models might require you to use a flat head screwdriver to uncap it. Remove the acid inside the battery. Make sure that you do this carefully as the acid getting into your skin will be a burning and an unpleasant experience. Have a ready bin or container where you can pour the liquid out. Be mindful of where you dispose of the battery’s acid.

Step 5: Prepare 10 ounces of baking soda and 1 gallon of distilled water. Mixing the whole baking soda in just one go is not recommended. Instead, do it in smaller portions to ensure that the baking soda is fully dissolved. Baking soda is considered as one of the most powerful cleaning agents. It is associated with practically all cleaning related methods and it is the same principle here. The baking soda will help clean the insides of your battery.

Step 6: Pour the distilled water and baking soda solution to each of the cells of the battery. Do this method slowly by using a funnel. Put the battery caps back on. Shake the battery for about 30 seconds. Remove the battery caps again. Dump the distilled water and baking soda solution into the same bin that you used earlier.
Prepare 15 ounces of Epsom salt and another gallon of distilled water. For this step, heated distilled water is best used so you can dissolve the Epsom salt easier. You can follow the same methodology of dissolving in smaller portions like what you did with the baking soda. Like the distilled water and baking soda solution, pour the Epsom salt solution to every cell of the battery.

Step 7: Using your battery charger, slow charge your battery for 24 hours. You don’t need to put the battery caps back on because there is a tendency of some liquid overflow during the charging phase due to the solution being heated up. I hope this article could help you to find the right battery charger for your car.
After 24 hours, check the current volt reading of your battery. Expect an improvement in the battery’s power.
To further improve the battery’s power, put it back on the charger. If there are any Epsom salt and distilled water overflows, just refill the cells with the same solution.
Put the battery charger into trickle mode and just allow it to charge for another 24 hours. At this point, you will notice that there would be more overflow from the Epsom salt and distilled water solution. Just wipe it off clean. Refill the cells as needed with the same solution.

Step 8: Using your multimeter, do another voltage reading and you should have a battery with better readings. Do another load test to check the amperes of your battery. If you want to further crank up the CCA of your battery, you can proceed to the next steps.

Step 9: Cycle the battery. Cycling the battery means draining the battery then fully charging it again. You can use various methods to drain the battery. Just wait until the battery gets closer to 10 volts and you can stop draining it.
Step 10: Do your full battery charge to complete the cycle. It’s normal to still have some solution overflow after the battery reached 100%. Just wipe the liquid off the surface. Check the voltage of your battery and do another load test.
Note that this home solution can help make your bad battery into a good one not necessarily the best one. It can help give your battery a second chance of buying you some time and resources before needing to purchase a new one.